Using Eclipse
Installing Java
The first step of setting up your development environment is installing Java, if you haven't already. You can download Java here.
Downloading and installing IntelliJ IDEA
To work with IntelliJ IDEA:
- Go to the Jetbrains IntelliJ IDEA website and download the installer for your operating system.
- Execute the installer and follow the instructions.
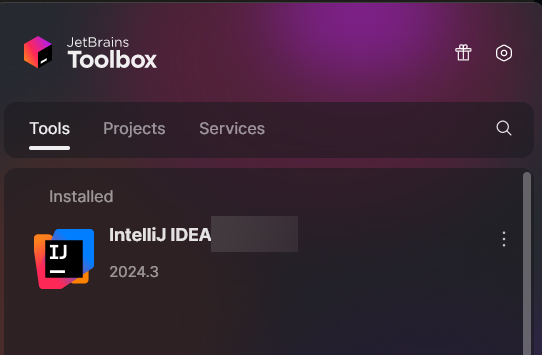
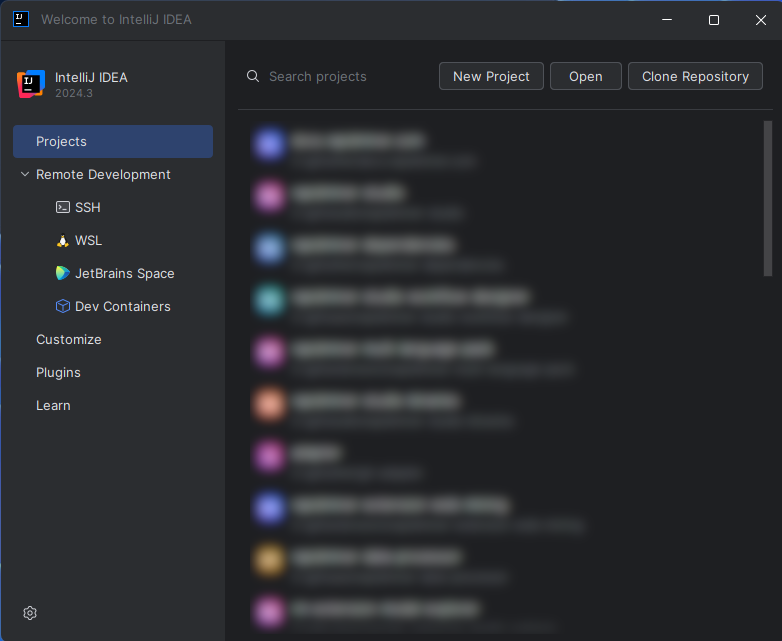
- Launch IntelliJ IDEA (via direct launch or Jetbrains Toolbox) and follow the instructions until you see the welcome screen.


- Code completion supports camel case patterns (for example, entering ‘NPE’ will propose
NullPointerException). - Type
/**and press enter to automatically add a JavaDoc comment stub. - Press Ctrl+Alt+O to organize all imports automatically.
- Press Alt+Enter to show possible fixes for a problem or possible actions.
Importing the extension template
To import the template:
- Open the Altair RapidMiner GitHub page in your browser.
- Select the repository
rapidminer-extension-template. - Clone the repository or download and unpack the .zip file to a directory of your choice.
- Open IntelliJ, click on Open and select the folder of the template (the unzipped or cloned folder from the previous step).

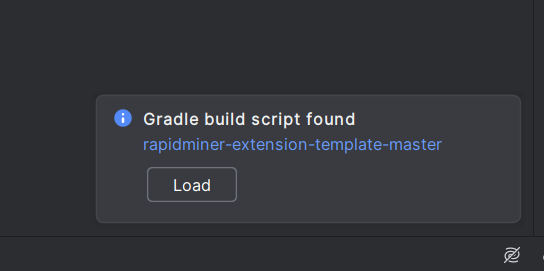
If not loading automatically, you will find a popup saying a gradle build script was found in the lower right corner. Click on Load and wait for IntelliJ to finish importing.

Using build.gradle
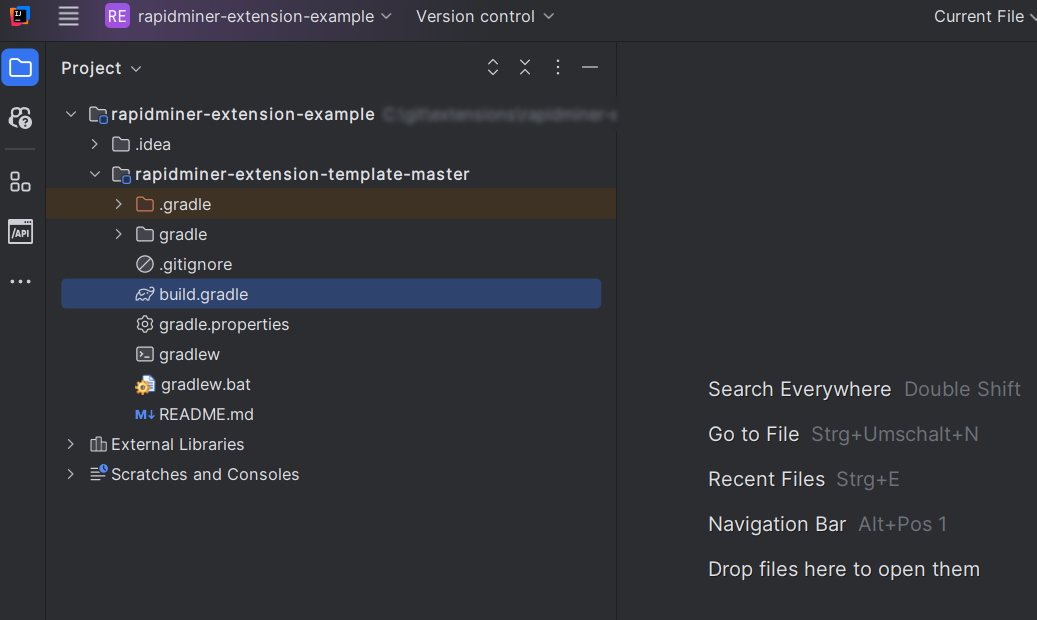
You can now see the imported project in the Project view.

Open the file build.gradle, and proceed to the next step - giving your extension an individual name and settings.